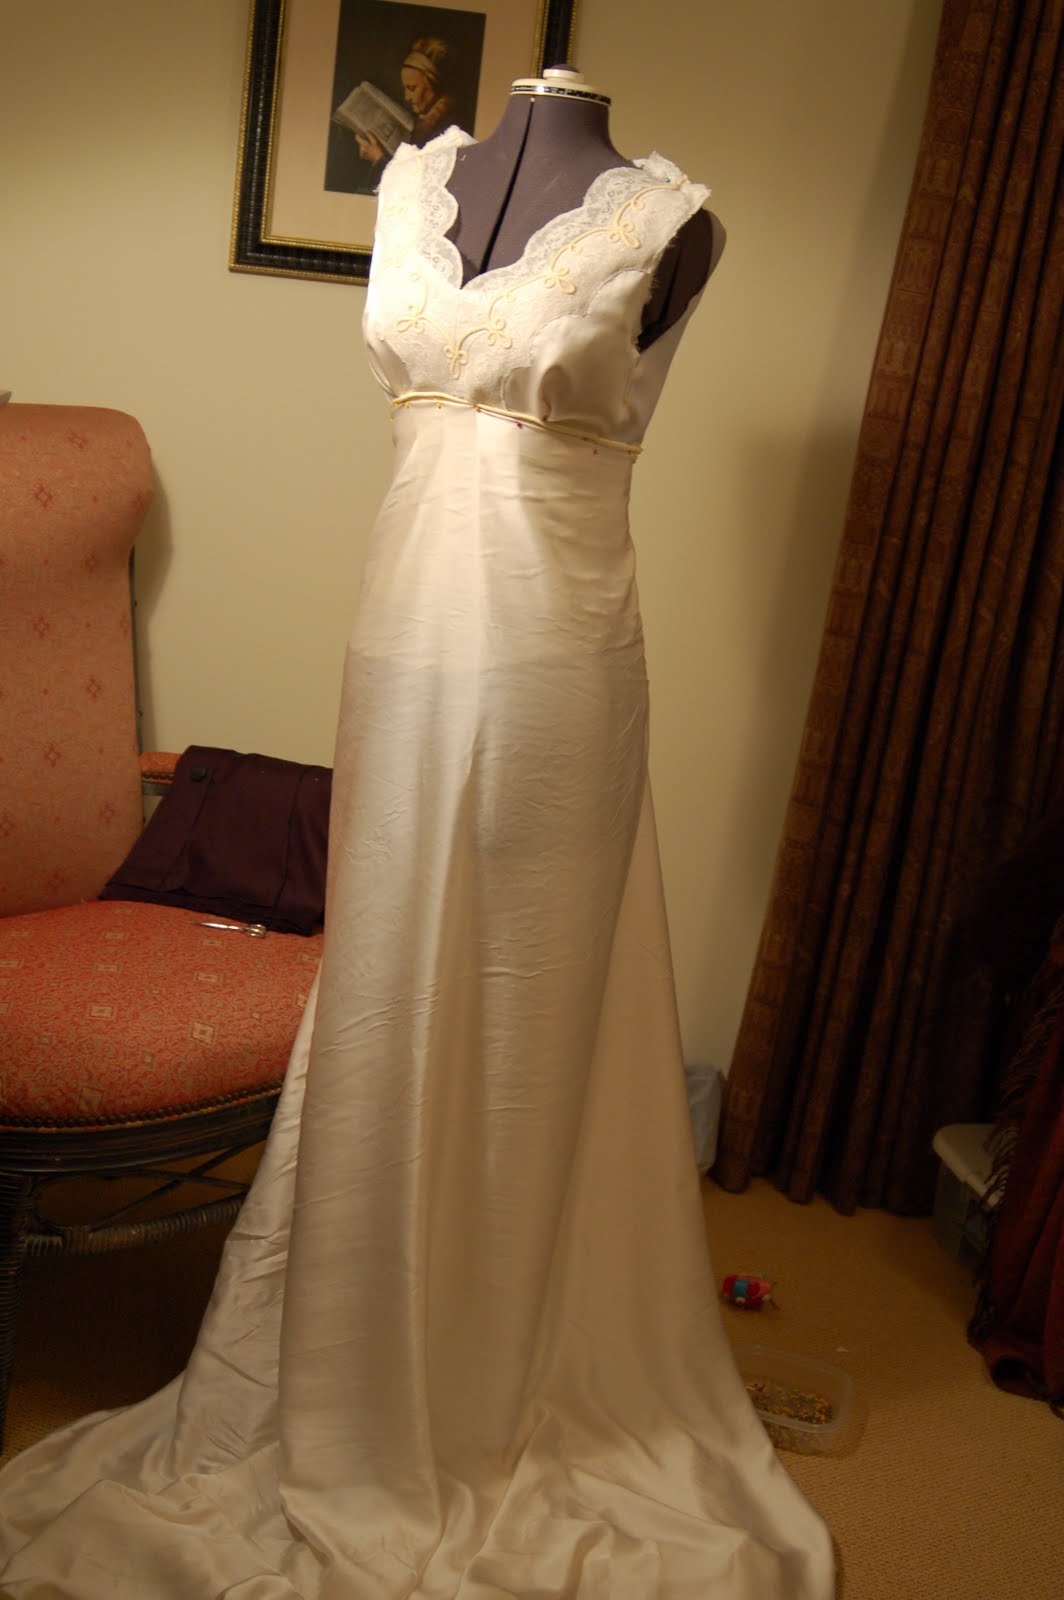
So it's time to start in on the bodice and I get out my adjustable dress form and try to make her measurements the same as mine, but it's impossible! Look at the boobs on that thing-nobody is shaped that way! Unfortunately, when making a dress, the bust is one of the most important areas to fit correctly. So, I came up with an excellent solution.
Voila! Problem solved. I've been sewing with this dress form for ten years and I just figured that out. Pretty sad. Actually, I am so excited, I just ordered a new dressmaker's form from PGM. They're the company that supplies the dress forms for Project Runway. My dream is to own a $700 one that is actually custom made to fit your particular body--they actually take a cast of your body. But no, I got the summer special $150 + free shipping. It's the basic "professional" model, but it's way better than my pointy boobed adjustable.
First of all, can I start off by saying that I WISH with all my heart that I could be doing this full time? I am enjoying this so much. Seriously, I've been getting home from work at 6pm every night and sewing until about 2am. I'm sick, I'm exhausted, I haven't washed my hair in three days, but I can't stop. I love this. Unfortunately, a girl's gotta eat.
So after I give Betty a little more realistic shape, I start to plan my patterns. As a self-taught seamstress, I've never had formal training in draping or pattern design so my solution is that I scour existing patterns for elements of the dress that I like and alter those patterns to fit what I want--in conjunction with a bit of draping I am able to make my own pattern .

 From here, I cut a sample pattern out of muslin so I don't waste my silk. I've made that mistake one too many times.
Once I like the fit of the muslin pattern, I cut the silk and the lining.


Before sewing the lace piece to the silk, I reinforce it with a layer of netting so it doesn't get all limp.
After that I sewed it on the bodice front and I'm quite pleased with how it looks!

 Before deciding how my back was going to look, I decided to drape the rest of it to get an idea of how it's going to look in the end. This isn't sewn together, just pinned and the sleeves haven't been attached yet. This is just a teaser.